Installing Qiskit and Jupyter Notebook as a service
Nicolas B June 09, 2025 #Qiskit #QuantumQiskit is an opensource python framework, supported by IBM, for working with quantum computers or simulators.
Although this framework can run on a laptop, I'm often short on RAM, and my MacBook Pro swaps when I'm running too many Firefox instances, and all my tools. In addition, starting coding implies running some commands to launch en environment.
Having a ready-to-use Jupiter Notebook server in a homelab server would be more convenient, so, let's install it there as a service!
This post has been written for my Red Hat Enterprise Linux 10 homelab server. It should work as-is on recent RHEL, CentOS Stream or Fedora boxes. Others distros may require some adjustments.
Installing Qiskit
Preparing the venv
It's possible to install multiple Qiskit versions in different virtual env.
We'll store the venv in /usr/local/qiksit:
# cd /usr/local/
# mkdir qiskit
# cd qiskit
# python3 -m venv q2.x
Then, activate this virtual env:
# source q2.x/bin/activate
Then, to install Qiskit using pip, it's a good idea to use a requirements.txt file to ensure the reproducibility of the installation.
Here is the content of the requirements.txt file:
qiskit
qiskit-ibm-runtime
qiskit[visualization]
jupyter
To install these requirements, run the following command
# pip install -r requirements.txt
Qiskit is installed! Let's configure systemd to run jupyter notebook during boot
Configuring systemd
Creating the startup script
It's easier to maintain the startup arguments in a dedicated script.
This script will be stored in /usr/local/qiksit/q2.x/jupyter-q2.x.sh:
#!/bin/bash
#Activate the venv
Make this script executable
# chmod a+x /usr/local/qiksit/q2.x/jupyter-q2.x.sh
Open the firewall
# firewall-cmd  --add-port=6002/tcp
# firewall-cmd  --add-port=6002/tcp --permanent
Creating the systemd unit
The file will be created in my home directory in .config/systemd/user/jupiter-q1.x.service .config/systemd/user/jupiter-q2.x.service
[Unit]
Jupyter Notebook for qiskit 2
[Service]
simple
/usr/local/qiskit/2.x/jupyter-q2.x.sh
always
10
[Install]
multi-user.target
Activating the service
Don't forget to create the directory where jupyter will store the notebooks
Activate the service at startup, and run it:
Test it
Jupyter Lab is now accessible on your machine, with the port chosen, here 6002:
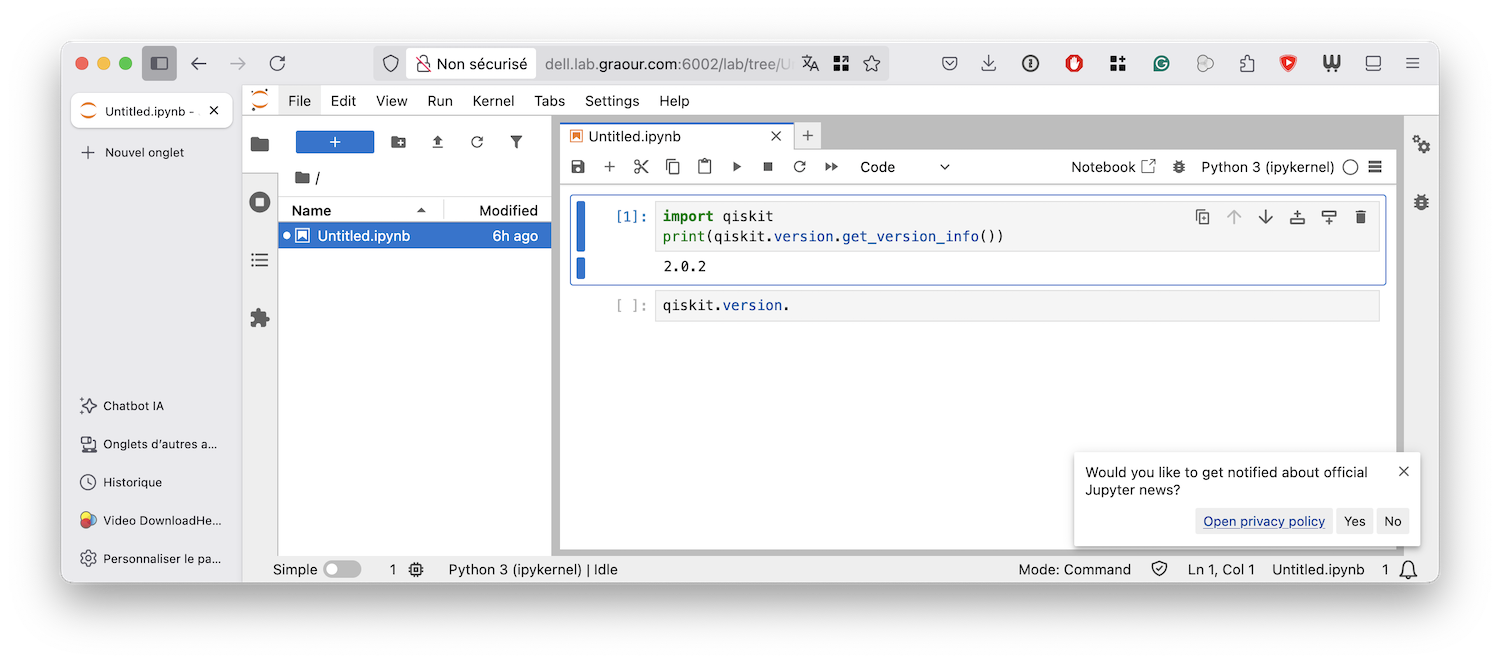
It doesn't work from a Mac machine? Please ensure giving the appropriate permissions to your browser ;-)